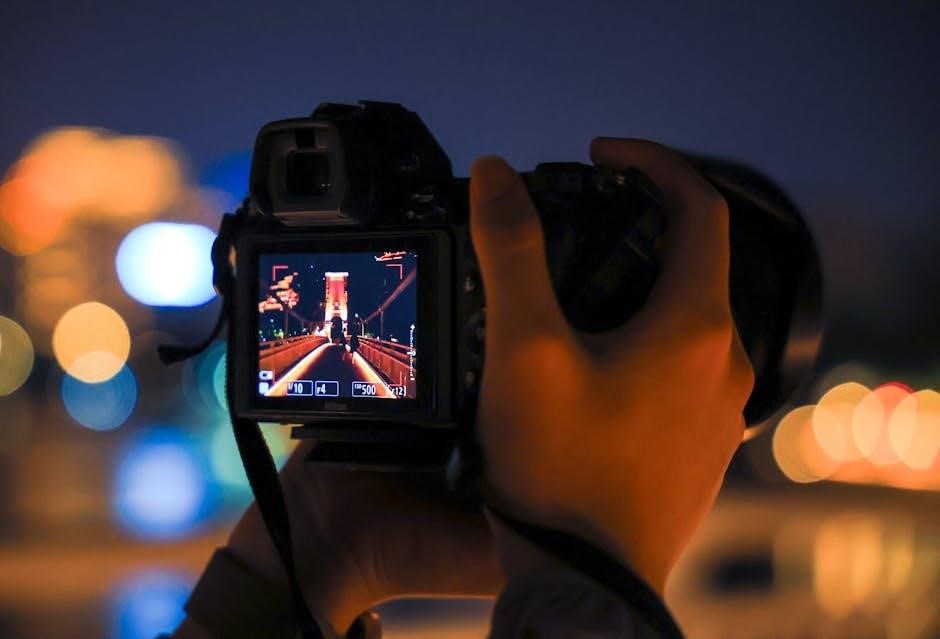
The GardePro A3S Trail Camera is a cutting-edge scouting device capturing high-quality images and videos. It features a PIR motion sensor, excellent night vision, and fast trigger speeds for optimal wildlife monitoring.
1.1. About the Camera
The GardePro A3S Trail Camera is a next-generation digital scouting camera designed for wildlife monitoring. It features a highly sensitive PIR motion sensor, capturing high-quality images up to 48MP and videos with audio. Equipped with advanced night vision up to 100ft, it ensures clear visuals in low-light conditions. Its fast trigger speed and weather-resistant design make it ideal for outdoor use, providing reliable performance in various environments.
1.2. Key Features of the GardePro A3S Trail Camera
The GardePro A3S offers 48MP still photos and 1296P/1080P video recording with audio. It features no-glow night vision up to 100ft, a fast 0.1-0.5s trigger speed, and IP66 waterproofing. The camera supports up to 128GB memory cards and operates on 4-8 AA batteries. Its user-friendly interface and versatile mounting options make it suitable for hunting, property surveillance, and wildlife monitoring in diverse outdoor settings.

Features and Specifications
The GardePro A3S Trail Camera delivers high-resolution images and videos with advanced night vision and motion detection, ensuring superior performance in various outdoor environments and conditions.
2.1. Image and Video Quality
The GardePro A3S Trail Camera captures stunning 48MP still photos and 1296P or 1080P videos with audio, ensuring crisp and clear visuals. Its advanced image sensor and high-resolution capabilities make it ideal for wildlife monitoring, delivering detailed images even in challenging lighting conditions, both day and night, with excellent color accuracy and clarity for precise observations.
2.2. Night Vision and Motion Detection
The GardePro A3S Trail Camera offers exceptional night vision up to 100 feet with no-glow infrared LEDs, ensuring wildlife remains undisturbed. Its highly sensitive PIR motion sensor detects even slight movements, triggering captures swiftly. Adjustable sensitivity settings allow customization for diverse environments, minimizing false triggers while ensuring accurate detection, making it ideal for 24/7 surveillance in various outdoor conditions.
2.3. Trigger Speed and Memory Capacity
The GardePro A3S Trail Camera boasts an impressive trigger speed of 0.1 to 0.5 seconds, capturing wildlife quickly and accurately. It supports memory cards up to 128GB, allowing extensive storage for high-resolution images and videos. This combination ensures minimal missed moments and ample storage, making it a reliable choice for continuous outdoor monitoring and wildlife observation without frequent memory replacements.
Installation and Setup
The GardePro A3S setup involves unboxing, inserting the SD card and batteries, mounting the camera, and completing initial configuration for optimal performance and quick deployment.
3.1. Unboxing and Initial Setup
Unboxing the GardePro A3S reveals the camera, USB cable, mounting strap, and instruction manual. Initial setup involves inserting the SD card and batteries, ensuring proper power and storage. Follow the manual for quick deployment, and familiarize yourself with the camera’s buttons and ports for seamless configuration. This step ensures your device is ready for installation and operation.
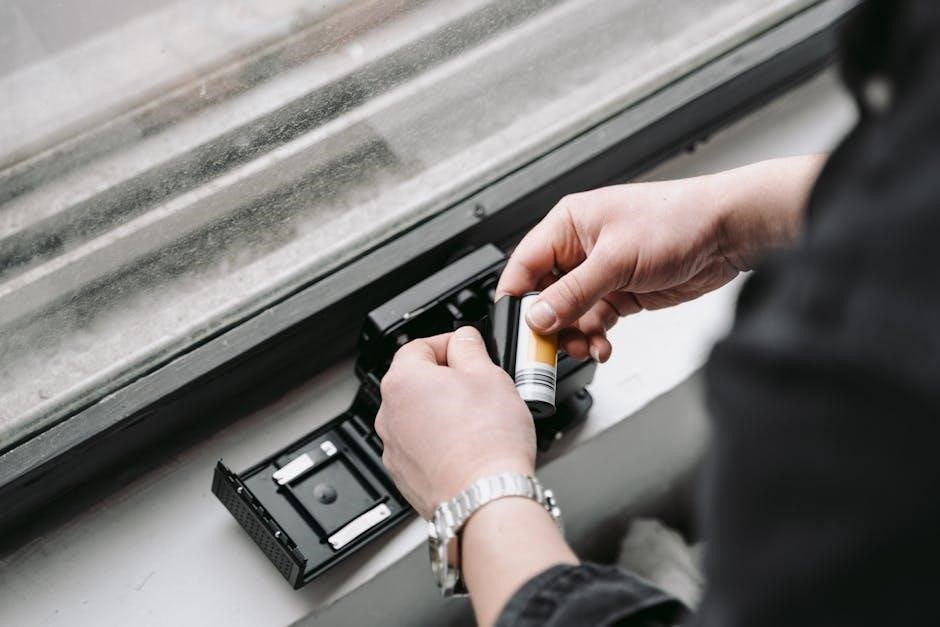
3.2. Inserting the SD Card and Batteries
Insert the SD card into the designated slot, ensuring it clicks securely into place. Install 8 AA batteries, following the polarity markings. Use high-quality batteries for optimal performance. The camera supports SD cards up to 128GB. Format the SD card before use for compatibility. The camera will confirm card recognition with a screen prompt, ensuring your device is ready for operation.
3.3. Mounting the Camera
Mount the GardePro A3S Trail Camera using the included mounting strap or optional accessories like a tree bracket. Secure the strap around a tree or stable structure, ensuring the camera faces the desired direction. Adjust the angle for optimal coverage. Tighten the strap firmly to prevent movement. For added security, use the optional lock to deter tampering or theft. Ensure the camera is level for accurate capturing.

Configuration and Settings
Configure the GardePro A3S to suit your needs by selecting modes, adjusting sensitivity, and setting intervals. Customize settings for optimal performance in various environments and conditions easily.
4.1; Basic Settings and Mode Selection
The GardePro A3S offers multiple modes, including Photo, Video, and Timelapse, allowing you to customize capture settings. Use the 2.4-inch LCD screen to navigate menus and configure basic settings like date stamps, time, and video length. Adjust the PIR sensitivity to reduce false triggers and set the trigger interval to optimize storage. These settings ensure tailored performance for your surveillance needs.
4.2. Adjusting Sensitivity and Trigger Interval
Adjust the PIR sensitivity to reduce false triggers caused by wind or small animals. Lower sensitivity settings are ideal for calm environments, while higher settings suit areas with significant motion. The trigger interval determines the time between captures, ranging from 5 seconds to 30 minutes. Shorter intervals capture more activity but consume more memory. Experiment with settings to balance detection accuracy and storage efficiency for optimal performance.
4.3. Firmware Upgrade Process
The firmware upgrade process enhances camera performance and adds new features. Insert the SD card with the updated firmware into the camera, ensure sufficient battery power, and press and hold the MENU key. Switch the camera from OFF to SET mode to initiate the update. The process takes about 50-60 seconds. Always follow the manual instructions carefully to avoid interruptions and ensure a successful upgrade.

Maintenance and Troubleshooting
Regularly clean the lens and housing to ensure optimal image quality. Check SD cards and batteries for proper function. Reset the camera to factory settings if issues arise.
5.1. Cleaning and Caring for the Camera
Regular maintenance ensures optimal performance. Clean the lens and housing with a soft, dry cloth to prevent smudges. For stubborn marks, dampen a microfiber cloth lightly with water, avoiding harsh chemicals. Inspect and clean SD card slots and battery compartments to ensure proper functionality. Store the camera in a cool, dry place when not in use to prevent moisture buildup and maintain its waterproof rating.
5.2; Common Issues and Solutions
Common issues include motion detection malfunctions or blurry images. Ensure the PIR sensor is clean and free from obstructions. For blurry photos, check lens cleanliness and adjust camera placement. If the camera fails to turn on, verify battery levels or try resetting it. Firmware upgrades can resolve software-related issues; refer to the manual for update instructions to restore functionality and optimize performance.
5.3. Resetting the Camera to Factory Settings
To reset the GardePro A3S to factory settings, press and hold the MENU button while switching from OFF to SET mode. This process restores default settings, resolving configuration issues. Note that all custom settings will be lost, so ensure configurations are backed up before resetting. The camera will restart automatically, confirming the reset. This step is ideal for troubleshooting unresolved software issues.
Accessories and Compatibility
The GardePro A3S supports various accessories, including mounting straps and SD cards. It is compatible with up to 128GB memory cards and uses 4-8 AA batteries for operation.
6.1. Recommended Accessories
To enhance your experience with the GardePro A3S Trail Camera, consider these essential accessories: a sturdy mounting strap for secure installation, a high-capacity SD card (up to 128GB) for extended storage, and a set of 4-8 AA batteries for reliable power. Additionally, a weatherproof security box can protect the camera from tampering or harsh weather conditions. These accessories ensure optimal performance and durability in the field.
6.2. Compatibility with Memory Cards and Batteries
The GardePro A3S Trail Camera supports memory cards from 8GB to 128GB, ensuring ample storage for photos and videos. It operates efficiently with 4-8 AA batteries, offering long battery life. For optimal performance, use high-quality, alkaline or lithium batteries and Class 10 SD cards. This ensures smooth operation, even in extreme weather conditions, and maximizes your camera’s reliability and functionality in the field.
Warranty and Support
The GardePro A3S Trail Camera is covered by a one-year warranty. Customer support offers dedicated assistance, while online resources and manuals provide troubleshooting solutions.
7.1. Warranty Information
The GardePro A3S Trail Camera is backed by a one-year limited warranty from the date of purchase. This warranty covers defects in materials and workmanship under normal use. For warranty claims, contact customer support via email or phone. Proof of purchase is required. The warranty does not cover damage caused by misuse or external factors. Refer to the manual for full warranty terms and conditions.
7.2. Customer Support and Resources
GardePro offers comprehensive customer support, including email and phone assistance, to address queries and issues. Extensive online resources, such as detailed manuals, FAQs, and video guides, are available for troubleshooting and optimal camera use. Additionally, the GardePro Mobile app provides remote camera management. For further assistance, users can access community forums and dedicated support pages to ensure a seamless experience with their A3S trail camera.
The GardePro A3S Trail Camera is a powerful tool for wildlife monitoring, offering high-quality images, videos, and reliable performance. Follow the manual for optimal use and troubleshooting to maximize its capabilities and enhance your outdoor experiences.
8.1. Final Tips for Optimal Performance
To ensure the best results with your GardePro A3S Trail Camera, always use high-quality batteries and SD cards. Position the camera in areas with clear visibility and avoid direct sunlight. Regularly clean the lens and sensor for sharp images. Keep the firmware updated and test the motion detection before deployment. By following these tips, you’ll maximize the camera’s potential for capturing stunning wildlife footage and photos.