Welcome to the Club Car Troubleshooting Guide! This guide empowers you to identify and resolve common issues with your golf cart‚ focusing on DIY repairs‚ battery health‚ and electrical systems. Use diagnostic tools like the CDT to streamline the process and keep your cart running smoothly.
1.1 Purpose of the Guide
This guide provides a comprehensive resource for diagnosing and resolving common Club Car issues‚ helping users save money and time by addressing problems independently. It covers essential troubleshooting steps‚ DIY repair tips‚ and maintenance advice‚ ensuring your cart operates efficiently. Designed for both novices and experienced technicians‚ this guide offers a structured approach to keeping your Club Car in optimal condition.
1.2 Importance of DIY Repairs
Diy repairs for your Club Car save money‚ reduce downtime‚ and extend the cart’s lifespan. By addressing minor issues promptly‚ you prevent major damage. This guide equips you with the knowledge to handle simple fixes‚ ensuring your cart remains reliable and performs optimally‚ whether for recreational or utility use‚ keeping you on the go effortlessly.
Common Issues and Solutions
This section outlines frequent problems with Club Car golf carts‚ such as battery drain‚ electrical malfunctions‚ and motor issues. Discover practical solutions and quick fixes to keep your cart running efficiently and reliably‚ ensuring minimal downtime and optimal performance on the course or around your property.
2.1 Battery Issues
Battery problems are common in Club Cars‚ often due to improper charging or wear. Check voltage levels—36V should read 38.3V when fully charged‚ and 48V at 50.3V. Low voltage or inconsistent charging can signal battery degradation. Regular water checks and avoiding deep discharges help extend life. Replace batteries if they no longer hold charge or show signs of aging.
2.2 Electrical System Problems
Electrical issues in Club Cars often involve wiring damage‚ faulty connections‚ or controller malfunctions. Start by inspecting the wiring harness for signs of wear or corrosion. Use wiring diagrams specific to your model for accurate troubleshooting. Ensure all connections are secure and torque appropriately. The controller and solenoid are key components to check for proper function. Always disconnect power before inspecting to ensure safety and prevent further damage.
2.3 Motor and Speed Issues
Common motor issues include the cart not moving or inconsistent speed. Check for faulty solenoids‚ worn motor brushes‚ or loose connections. Test the solenoid by bypassing it temporarily. Ensure proper voltage supply to the motor. If problems persist‚ use a multimeter to verify wiring and connections. Consult diagnostic tools or a professional if issues remain unresolved.
Battery Troubleshooting
Identify common battery issues like dead cells‚ charging problems‚ or voltage imbalances. Regular maintenance and voltage checks ensure optimal performance. Learn how to diagnose and resolve battery-related issues effectively.
3.1 Voltage Checks
Performing voltage checks is essential for diagnosing battery issues. A fully charged 36V battery should read 38.3V‚ while a 48V battery should show 50.3V. Use a multimeter to measure voltage across terminals‚ ensuring accurate readings. This step helps identify dead cells or charging problems‚ guiding further repairs effectively and safely.
3.2 Charge Level Diagnosis
Diagnosing charge levels involves measuring the battery’s state of charge (SOC). Use a multimeter to check voltage‚ ensuring it aligns with the expected range for a fully charged system (38.3V for 36V‚ 50.3V for 48V). Inconsistent readings may indicate charging issues or faulty cells. Regular checks help maintain optimal battery performance and prevent unexpected shutdowns.
3.3 Signs of Battery Replacement
Signs indicating battery replacement include consistent voltage drops below expected levels‚ reduced runtime‚ and slow acceleration. If batteries are over five years old or show physical damage‚ replacement is necessary. Corrosion‚ swelling‚ or low water levels in flooded batteries also signal the need for new ones to ensure reliable performance and safety.

Electrical System Diagnosis
Begin by inspecting wiring diagrams to identify potential issues. Check for damaged wires‚ loose connections‚ and corrosion. Use diagnostic tools like the CDT handset to pinpoint electrical faults efficiently.
4.1 Wiring Diagrams
Referencing wiring diagrams is essential for diagnosing electrical issues. They provide a detailed layout of your Club Car’s electrical system‚ helping identify faulty components. Ensure the cart is disconnected from power before inspection to verify connections‚ check for wear‚ and trace issues systematically. Always consult diagrams specific to your model year for accuracy.
4.2 Checking for Wiring Damage
Inspect the wiring harness for visible damage‚ such as cracks‚ frays‚ or burn marks. Ensure all connections are secure and free from corrosion. Use a multimeter to test for short circuits or open connections. Check for loose terminals and verify proper voltage at key components. Address any issues promptly to prevent further electrical failures.
4.3 Testing Connections
Use a multimeter to test all electrical connections for continuity and voltage. Ensure connections are clean and tightly secured. Check for corrosion or looseness‚ which can cause intermittent issues.Verify each connection matches the wiring diagram. Common problems include faulty solenoid connections or loose terminals. Always disconnect power before testing to avoid safety risks.
Motor and Controller Issues
Inspect the motor for wear and test the controller using a multimeter. Check for faulty connections or corrosion. Use the CDT tool for advanced diagnostics to identify issues quickly.
5.1 Motor Inspection
Inspect the motor for signs of wear‚ damage‚ or excessive heat. Check connections for tightness and corrosion. Listen for unusual noises indicating internal issues. Ensure proper alignment with the gearbox to prevent further damage. Clean or replace brushes if worn. Always disconnect power before starting inspection for safety.
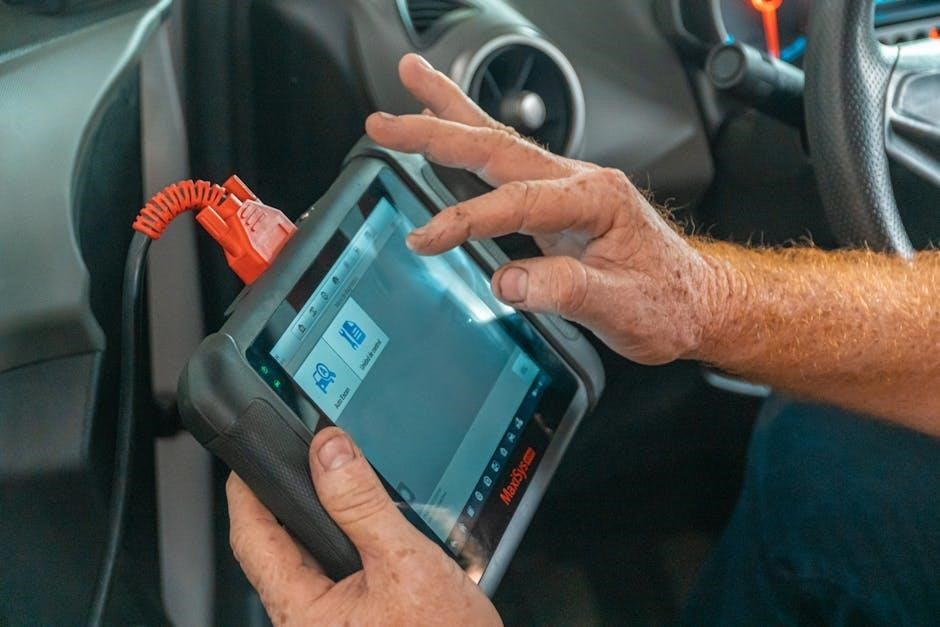
5.2 Controller Diagnostic Tools (CDT)
Utilize the Controller Diagnostic Tool (CDT) for precise troubleshooting of Club Car motors. This tool provides real-time data on system performance‚ helping identify issues quickly. Refer to the CDT user manual for step-by-step guidance. Ensure the cart is disconnected from power before use. This tool is essential for efficient diagnostics and repairs.
5.3 When to Replace the Controller
Replace the controller if irreparable damage is found during inspection or if issues persist after troubleshooting. The typical replacement cost ranges from $400 to $700. Consult a technician for advanced diagnostics and installation. This ensures optimal performance and safety for your Club Car.
Directional and Movement Problems
Identify issues with forward and reverse movement by checking solenoids‚ switches‚ and wiring. Use diagnostic tools to inspect the controller and ensure proper connections for smooth operation.
6.1 Forward and Reverse Issues
Common causes include faulty solenoids‚ worn switches‚ or damaged wiring. Check the solenoid for proper engagement and inspect switches for wear. Consult wiring diagrams to ensure connections are secure. Use diagnostic tools like the CDT to identify issues and restore directional control effectively.
6.2 Solenoid and Switch Checks
Inspect solenoids for corrosion or damage and test switches for smooth operation. Ensure wiring connections are secure and free from wear. Use multimeter testing to verify solenoid functionality and switch continuity. Replace faulty components promptly to maintain proper cart movement and prevent further electrical issues. Regular checks can help avoid sudden malfunctions during operation.

On-Board Computer (OBC) Troubleshooting
The OBC manages critical functions like charging and cart operation. Identify issues by checking error codes and system responses. Use diagnostic tools to test functionality and ensure proper communication between components. Replace the OBC if faulty‚ ensuring compatibility with your Club Car model for optimal performance and reliability.
7.1 Identifying OBC Issues
Identify OBC issues by observing symptoms like erratic charging‚ error codes‚ or system malfunctions. Use the CDT handset to run diagnostics‚ checking for fault codes and communication disruptions. Ensure the cart is disconnected from power before testing to safely diagnose and address OBC-related problems effectively.
7.2 OBC Replacement Options
Replace a faulty OBC by consulting a service technician‚ with costs typically ranging from $400 to $700. Ensure compatibility with your Club Car model and install the updated unit carefully. Disconnect power before replacement and use diagnostic tools like the CDT to configure settings properly for optimal functionality and performance.

Charger and Charging Issues
Identify charger issues by checking blinking error codes‚ unusual noises‚ or failed charging cycles. Inspect connections‚ water levels‚ and power sources. Use diagnostic tools for advanced troubleshooting.
8.1 Blinking Error Codes
Blinking error codes on your Club Car charger indicate specific issues. A continuously blinking yellow diamond may signal a charging fault or battery connection problem. Always check water levels‚ connections‚ and power sources. Consult the charger’s manual for code meanings. Use a multimeter to verify voltage and ensure proper connections. If unresolved‚ contact a professional technician.
8.2 Troubleshooting the Charger
Start by checking for loose connections between the charger and battery. Verify the charger’s voltage matches your cart’s system (36V or 48V). Ensure the cart is turned off during charging. If issues persist‚ inspect the circuit breaker or fuses. Consult the charger’s manual for specific error code meanings and reset procedures. Always ensure compatibility with your Club Car model.
Accessing Resources and Manuals
Access Club Car troubleshooting guides‚ service manuals‚ and wiring diagrams online. Visit authorized dealers or official websites for genuine resources‚ ensuring accurate repairs and updates.
9.1 Finding Service Manuals
Locate Club Car service manuals via official websites or authorized dealers. These manuals provide detailed repair procedures‚ diagrams‚ and specifications for various models‚ ensuring accurate troubleshooting and maintenance. They cover electrical systems‚ battery setups‚ and motor diagnostics‚ making them invaluable for DIY enthusiasts and professionals alike. Accessing these resources is straightforward online.
9.2 Locating Wiring Diagrams
Wiring diagrams for Club Car models can be found in the official service manuals or online through authorized dealers. These diagrams provide detailed schematics of electrical systems‚ helping identify components like controllers and wiring harnesses. They are essential for diagnosing issues and ensuring proper repairs. The Club Car troubleshooting guide PDF often includes these diagrams for easy reference.
9.3 Diagnostic Tool Information
The Controller Diagnostic Tool (CDT) is essential for troubleshooting Club Car vehicles with the Excel electrical system. It helps identify issues like battery and motor problems efficiently. The CDT handset provides clear diagnostic steps‚ ensuring quick resolution of common faults. Detailed operating instructions are available in the Club Car troubleshooting guide PDF for reference.
Preventative Maintenance Tips
Regularly inspect batteries‚ wiring‚ and connections to prevent issues. Check water levels and torque specifications. Clean terminals and ensure proper charging to extend battery life and cart reliability.
10.1 Regular Maintenance Checks
Perform monthly battery inspections‚ checking water levels and terminals. Inspect wiring for damage and ensure all connections are secure. Regularly clean the cart’s electrical components and test the charger’s functionality. Schedule annual professional checkups to maintain optimal performance and address potential issues early‚ ensuring your Club Car operates reliably and efficiently over time.
10.2 Extending Battery Life
To maximize battery longevity‚ avoid deep discharges by recharging when the battery level drops to 20%. Store batteries in a cool‚ dry place during off-seasons. Regularly check water levels in flooded batteries and maintain proper charge cycles. Avoid extreme temperatures and overcharging‚ as these can degrade battery health and reduce overall performance significantly.
Safety Precautions
Always disconnect power sources before repairs and use protective gear like gloves and goggles. Ensure proper ventilation and avoid overcharging batteries to prevent hazards. Prioritize caution to safeguard yourself and your cart during troubleshooting and maintenance tasks.
11.1 Essential Safety Practices
Always disconnect power sources before starting repairs and wear protective gear like gloves and goggles. Ensure proper ventilation to avoid gas buildup and prevent overcharging batteries. Regularly inspect cables and connections for damage. Never work near open flames or sparks‚ and keep a fire extinguisher nearby. Prioritize safety to protect yourself and your cart during troubleshooting and maintenance tasks.
11.2 Pre-Repair Checks
Before starting repairs‚ always disconnect the battery to prevent electrical shocks. Check the charger and ensure the cart is on a level surface. Verify water levels in batteries if applicable. Use a multimeter to test voltage and connections. Wear protective gear like gloves and safety glasses. Consult the manual for specific precautions and guidelines to ensure a safe working environment.
By following this guide‚ you’ve gained essential skills to diagnose and fix common Club Car issues. Continue learning and troubleshooting to maintain your cart’s performance. If problems persist‚ consult a professional technician for advanced support and ensure your cart runs smoothly for years to come.
12.1 Summary of Troubleshooting Steps
Start with battery voltage checks and charge level diagnosis. Inspect wiring for damage and test connections. Use diagnostic tools like the CDT for advanced issues. Replace faulty components when necessary‚ and consult a professional if problems persist. Regular maintenance and understanding error codes will help keep your Club Car running efficiently.
12.2 When to Seek Professional Help
Consult a professional if issues persist after basic troubleshooting or if advanced diagnostics are required. Severe electrical or OBC problems‚ along with complex controller replacements‚ often demand specialized expertise. Always seek help for safety-critical repairs to ensure your Club Car operates reliably and efficiently.